








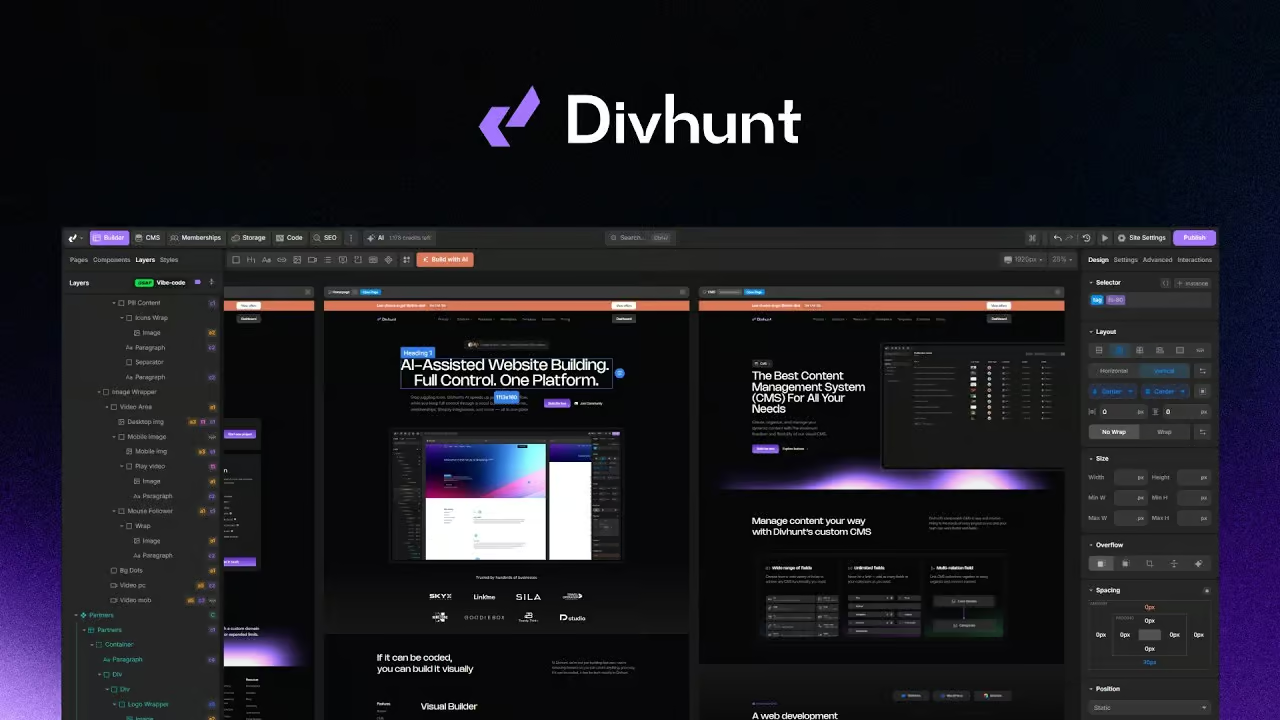


GSAP Animations
Unleash the potential of advanced animations effortlessly with GSAP - no coding required!
Watch the video tutorial on YouTube
Instructions
For best understanding, please watch the video tutorial above.
Installation
- Go to the settings of your project and navigate to "Browse Plugins".
- Find and install the "GSAP Animations" plugin.
Apply transform
- Select a tag which you want to be a trigger of animation.
- Go to the 'Settings' panel and apply transform 'GSAP Animation'.
Customize settings
- Target: Select a target you wish to animate. The animation will be triggered based on the currently selected element to which a transform has been applied.
- Self: Animate currently selected element.
- Tag: Select a different tag on a page and animate that tag based on the position of the currently selected element. For example, change the 'Body' color when you scroll to a certain section
- Class: Similarly to a tag, here we can target and animate one or multiple items that share the same class on a page.
- Event: Select whether the animation plays on page load or when the element comes into view while scrolling.
- Duration: Duration of animation, used only if 'Follow Scroll' is disabled.
- Easing: Easing of animation, used only if 'Follow Scroll' is disabled.
- Follow Scroll: The animation will be triggered based on scrolling. It won't play instantly from start to finish when the user reaches the element; instead, it will gradually play as you scroll through it.
- Pin: When utilizing the follow scroll functionality, you have the option to pin elements, enabling you to create more intricate animations. For a detailed example, please refer to the video above at the 17:40-minute mark.
Animation timing
In the sections 'Start when' and 'End when,' you have the ability to control when the animation begins and when it finishes. The 'End when' setting only has an impact when you are utilizing the 'Follow Scroll' functionality.
Timing is based on two parameters that you enter, you can enter 'Element position' and 'Viewport position'.
Example 1: "Start When" - Element at 'Top' and Viewport at 'Bottom'
- Animation begins when the top of an element reaches the bottom of the screen. As the user scrolls down, the animation starts when the element comes into view at the bottom.
Example 2: "Start When" - Element at 'Custom: 30%' and Viewport at 'Center'
- Animation starts when 30% of the element's height aligns with the center of the screen. This triggers the animation at a specific point within the element as it scrolls into view.
Same logic is applied for end timings of animation. Please refer to the video above to have better understanding. As well, you can enable 'View markers' to show you when animation will start and when it will end.
Animation properties
Towards the bottom, you can define animations using 'From' and 'To' properties. You can animate various properties like rotation, movement, scaling, colors, and sizes for dynamic animations.
Example 1: Combine a Zoom effect with a Fade In effect.
- In the 'From' values, set 'Opacity' to 0 and 'Scale' to 0.5.
- In the 'To' values, set 'Opacity' to 100 and 'Scale' to 1.
Example 2: Slide down effect
- In the 'From' values, set 'Opacity' to 0 and 'Y Position' to -100px.
- In the 'To' values, set 'Opacity' to 100 and 'Y Position' to 0px.
If you do not fill the 'From' value, the animation's starting point will be what you have defined in your stylings (Builder). In some cases, it is recommended to not fill the 'From' value if it matches with the current element styles.
Font Awesome Icons
Don't waste time downloading images for your socials, arrows, or any other icons. Simply use Font Awesome. With one click, you can access thousands of icons, making your work easier and faster.
Divhunt
Countdown
Create a Countdown Timer that counts down in days, hours, minutes, and seconds without the code.
Divhunt
Pikaday
A refreshing JavaScript Datepicker - lightweight, no dependencies, modular CSS.
Divhunt
Toggle Visibility
Simple method to toggle visibility of specific tags, perfect for pricing tables with monthly/yearly switches or similar use cases.
Divhunt